Tamiya Panel Line Accent Colour Paint
- Brand: Unbranded

Description
Next, I’ve sprayed the part with AK Interactive Real Colors Air Superiority Blue, masked and sprayed semi gloss then gloss clear coat. Painted and varnished shot at a 45 angle I’m going to open a sealed bag and prep a fresh piece of plastic with Mr. Primer Surfacer 1000. The tutorial on that product has been already posted if you need to know how to use it. Primer on lower wing half Now let’s get a little more organic. One of the great features about these products is blending it for a more idea shade. Sometimes light grey is too bold. In this picture you can see I’ve cut the ratio 50/50 in a mixing cup. This will give that spot a look of being hit by the muddy wind of propeller air-wash. Brown and grey in cup
Before you begin using this product it’s important to know that *Tamiya Panel Line Accent Color* is an enamel-based product. This means you take precautions to *have good ventilation*. You will also need an enamel thinner such as mineral or white spirits to dilute the excess and properly clean up the areas being worked on. Tamiya Panel Liners Use the same method for removing the excess as explained above, yet for raised bolts and rivets a fine brush will allow you to get in between those without removing the needed accent color. Cup on part with brush
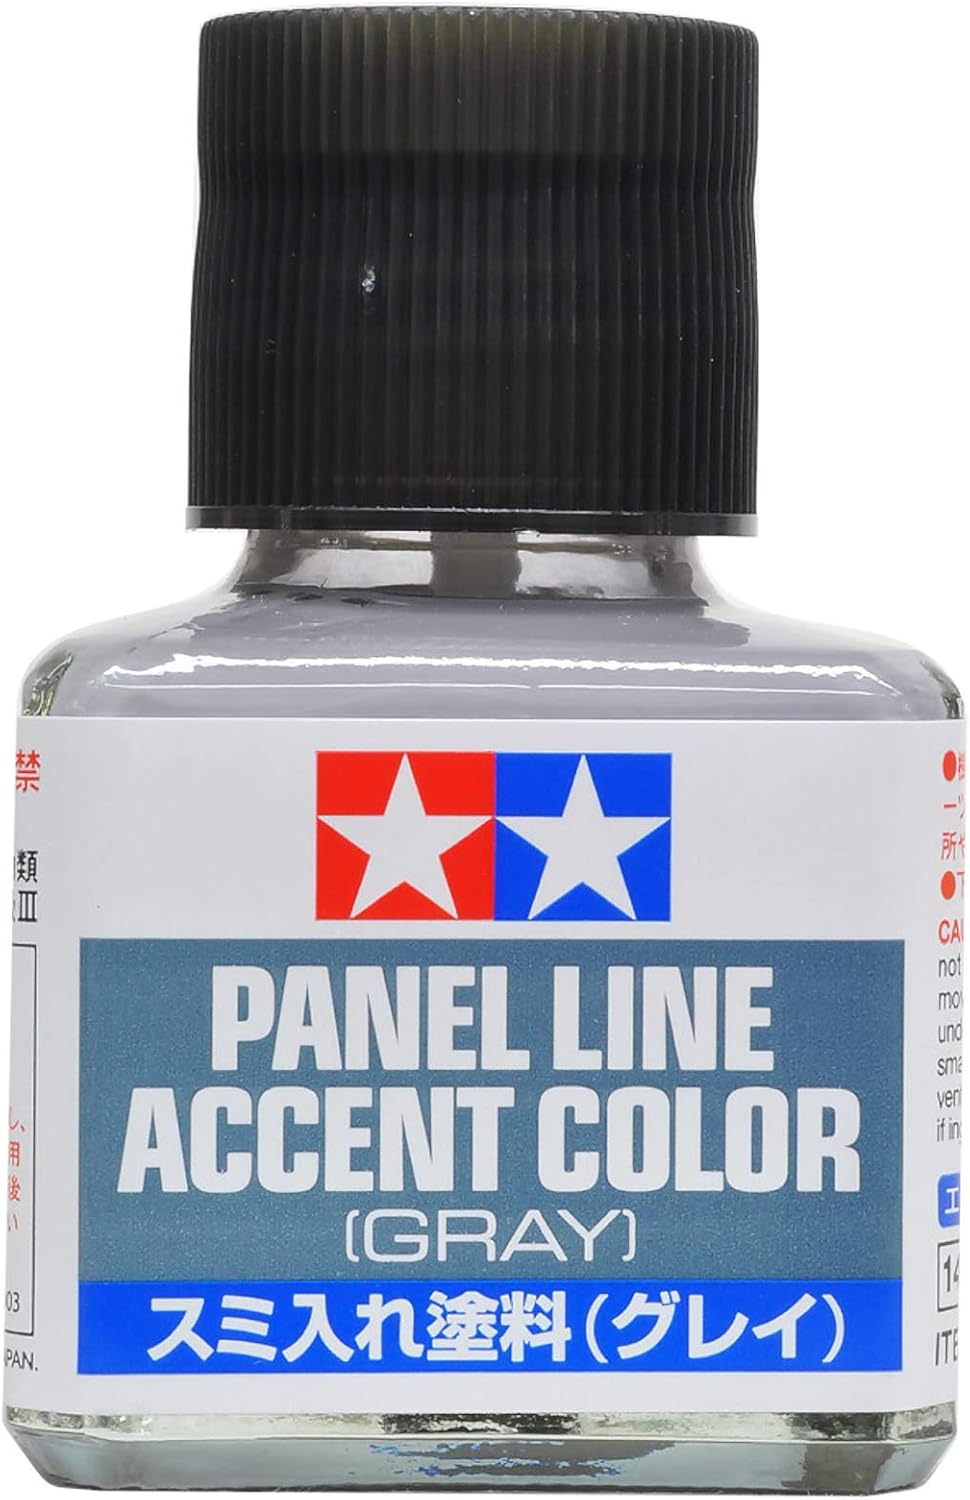
Notice the difference between the pronounced detail in the lower part of the picture vs the bland upper half of the photograph? A much-improved look, something simple to do and takes very little time to pull off. Tamiya Panel Liner Completed Application Lining Like a Pro 】 These enamel paints are ideal for highlighting panel lines and other details to give your model a more realistic depth. The paint has been pre-diluted into the ideal viscosity and can be easily applied into crevasses such as panel lines with the brush on the bottle cap. Once dried, any excess may be cleaned up by using enamel thinner. (Bottle contains 40ml) Boeing B-52H Stratofortress, US Air Force, great for home, office or dorm, Paper, Canvas, Metal, Acrylic and triptych options
Lastly, I took the time to scribe the panel lines and rivet the rudder of the B-17 Flying Fortress. Then it was primed and sprayed light sky grey and given a mat clear coat. After the prep work had dried, I used the brown color to accentuate my detail work. This picture shows what can expected on flat paint. Notice how the brown has flowed down the panel lines? centered on flat blue Let’s begin with the basics. Here’s the rudder of a 1/48 B-17 Flying Fortress. Some of the models Sunward Hobbies sell have coloured plastic parts, so if you simply want to add some depth and detail to your model here’s what to do. Keep collections to yourself or inspire other shoppers! Keep in mind that anyone can view public collections - they may also appear in recommendations and other places.As you can see in the picture there’s quite a difference between the two color tones. The lighter looks as though rain had collected then dried while the softer brown has that earthy look. The point is you can have multiple shades and not be restricted to one. Tail with two cups Once these clear coats have fully dried in an hour or so the Tamiya Panel Line Accent Color can be safely added. It’s critical to let them dry or you risk rubbing the Tamiya pigment into the unhardened clear coat. Wing half with 3 sheens Apply over base coat of lacquer or acrylic paint. Accent Color paints may damage underlying base coat. Test before applying onto the model. Here’s an added tip, if you’re doing the entire model, or a good portion of it, I suggest using an eye dropper or pipette and put 5 or 6 drops in a small cup. Using either the cap brush or your own you can mix it more conveniently instead of shaking the bottle every time it’s needed.
Next, you’ll begin to remove the excess. Work 90 degrees against the direction of the line when you can. Rubbing the same direction will, in many cases, remove the wash entirely. Don’t press too hard, remember you’re just adding thinner. After a few strokes the pigment will rehydrate and begin coming away. Turn your cotton swab often to a clean spot and replace it when it’s covered with pigment. Blue arrows on tail And the same thing occurs with the semi and gloss coated sections. Now the all-important time to dry. centered on semi and gloss wing area Plastic parts may become brittle. Avoid using on movable parts and take care when applying to load-bearing areas. When you’ve completed remove the bulk of the excess there will be some residue. Now you may opt to leave this as a weathering effect, clean it up a little as a “post shade” or get rid of it entirely. It all depends on the look you’re after. Tail and smudged grey wash with blue thumb With the wing part in full view, you can clearly see that uncoated wing tip area refused to give up all the pigment, leaving a brown hue. Notice the difference below on the clean aileron? Once again, it all boils down to which look you want. Be cautious, rubbing too much on bare paint will remove some of it. full blue wing partTamiya Masking Tape Holder - Holds 6, 10 and 18mm wide rolls with Anti-Slip Rubber Feet - Easy to swap out with Magnetic Top - 3D Printed With the introduction over we can move to a real-world example. All the products used in this tutorial are available at Sunward Hobbies, so there’s no magical hidden formula or nonsense. Again, the stuff I’m using is the same you’ll be buying. Here’s a Tamiya 1/48 Russian Shturmovik WWII aircraft. Tamiya Model Kit IL-2 box lid USB Programmed board with soldered 1.3" oled screen for DIY project computer cpu gpu temp, framerate, load monitor, ram usage, and indicator
- Fruugo ID: 258392218-563234582
- EAN: 764486781913
-
Sold by: Fruugo