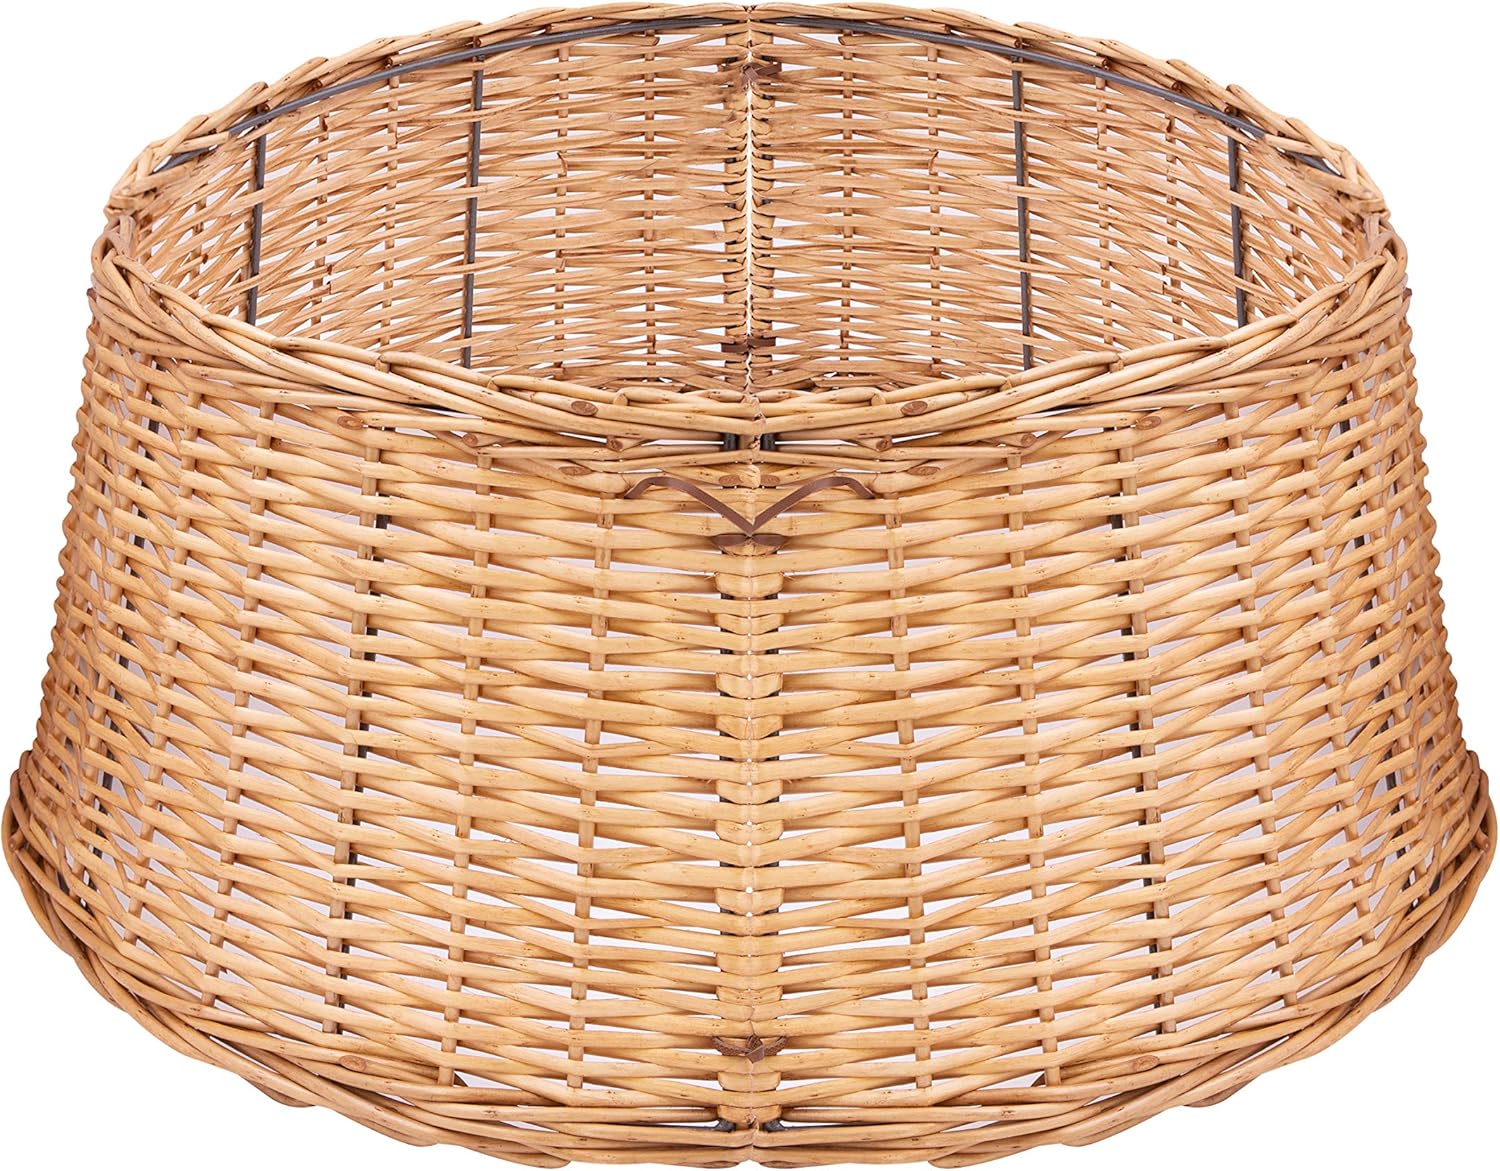
The Christmas Workshop Folding Willow Christmas Tree Skirts/Folds Flat for Optimum Storage / 60cm Bottom Diameter / 50cm Top Diameter / 27cm High / 2 Colours (Brown Willow)
FREE Shipping
The Christmas Workshop Folding Willow Christmas Tree Skirts/Folds Flat for Optimum Storage / 60cm Bottom Diameter / 50cm Top Diameter / 27cm High / 2 Colours (Brown Willow)
- Brand: Unbranded

Description
Generally, tree skirts are machine washable, but some may need to be hand washed or professionally laundered. Skirts made of natural, hard materials, such as grass or willow, shouldn't be cleaned in a washing machine. Place the lining piece right sides together with the outer piece. Stitch all around the bottom of the skirt, the line of the skirt, and the upper circle leaving and opening in the upper circle for turning. Step 6: Turn Right Sides Out
Once you've finished decorating your tree with baubles and tree lights, you can place your Christmas tree skirt. First, fan out the skirt so that it covers the tree base. Then wrap the skirt fabric around the tree stand. Depending on the Christmas tree skirt you've got, you should be able to button it up or tie it at one end to keep it in place. You may see a tree skirt described as a basket, blanket, tree ring or collar, but they all do the same job. A tree skirt is great for covering up the unattractive 'legs', trunk or stand of a tree, plus any unsightly lighting wires, giving your festive decorating theme a cohesive, uncluttered look. It will also protect your floors and carpets from any fallen pine needles too, if you prefer a real tree.No matter how many times you fold your fabric, just use a ruler and measure out half your circle diameter (so 20″ for me) from the center of your folded square all the way across your folded fabric. This year, I thought I’d jump on the tree skirt train and start with three easy no-sew options for my first year.
I used the folding method (in step 1) to mark my cutting path, but I didn’t cut all the layers at once like I did with the felt. Step 2: To make the small middle circle for your tree trunk, fold your fabric circle in half and place a round can or jar halfway across the middle point of your fold. Trace the half circle and cut with fabric scissors. Measure 20″ to each side of the center and make a mark. Measure 20″ down the center and make a mark. Using a 20″ string attached to a pencil and pin join the three marks together to make a curve. Cut the curve. Take a small plate or pot lid and cut a half circle out of the center. Open the circle and cut a straight line from the bottom curve to the top curve. Repeat the process for the lining fabric. Draw half circle Cut half circle on fold Draw small half circle on the fold Cut small half circle Step 3: Add the Pom Pom TrimWhen deciding on the size of your Christmas tree skirt, you should find one that's at least 15cm bigger than the full width of your tree. The style of Christmas tree skirt will depend on the kind of aesthetic you want to achieve with your Christmas decorations. You can browse our Christmas decorating ideas on our blog. If you wish to make your tree skirt smaller or larger, simply omit or add one more ‘round’ of sixteen (16) 2½in strips and cornerstones. I kept flipping and refolding the fur so I could mark all the way around the circle, and then only cut one layer deep making very small cuts as I went.
OK, here are the overall directions for your tree skirt. I’ll give you the variation details for each specific one below. For the pom pom skirt, all you have to do is follow the basic directions and then hot glue pom pom trim around the edge of the skirt. I love jumbo pom poms, so I bought the biggest trim I could find at the local craft store.
Step 6: Turn Right Sides Out
Elsie’s tree agreed to model the skirts for our pictures (we love a white Christmas tree over here with some pretty garland). I love Christmas and I love sewing for Christmas. With this in mind I decided stitch up my own reversible Christmas tree skirt. No pattern is necessary for this project. It is all in how you fold the fabric that makes this project simple and easy. You don’t need to make this reversible if you don’t want to but I thought it would be a nice touch. I added some trim to make my fabric stand out a bit more along with some ribbon for ties. You really don’t need the ties but I thought they were cute. Straight binding was used for the outside edge of the skirt. If you prefer to use bias binding, you’ll need more fabric. Fold the square in half to make a long rectangle (20″ x 40″), fold that rectangle in half at the middle vertical line (20″ x 20″).
Stitch the pom pom trim to the right side of the main outer fabric facing toward the inside of the skirt. Add the pom pom trim Step 4: Add the Ribbon Here’s a detailed breakdown of how much fabric you’ll need to make this Christmas tree quilt pattern. To make a scalloped edge skirt, trace the bottom half of a round item (like a ribbon spool) all the way around the edge of the skirt once you cut your large circle.Cut the ribbon into six pieces that measure 10″ long. Stitch the ribbon to both sides of the line that you cut to the right side of the main outer fabric 6″ apart. Add the ribbon Step 5: Add the Lining
- Fruugo ID: 258392218-563234582
- EAN: 764486781913
-
Sold by: Fruugo