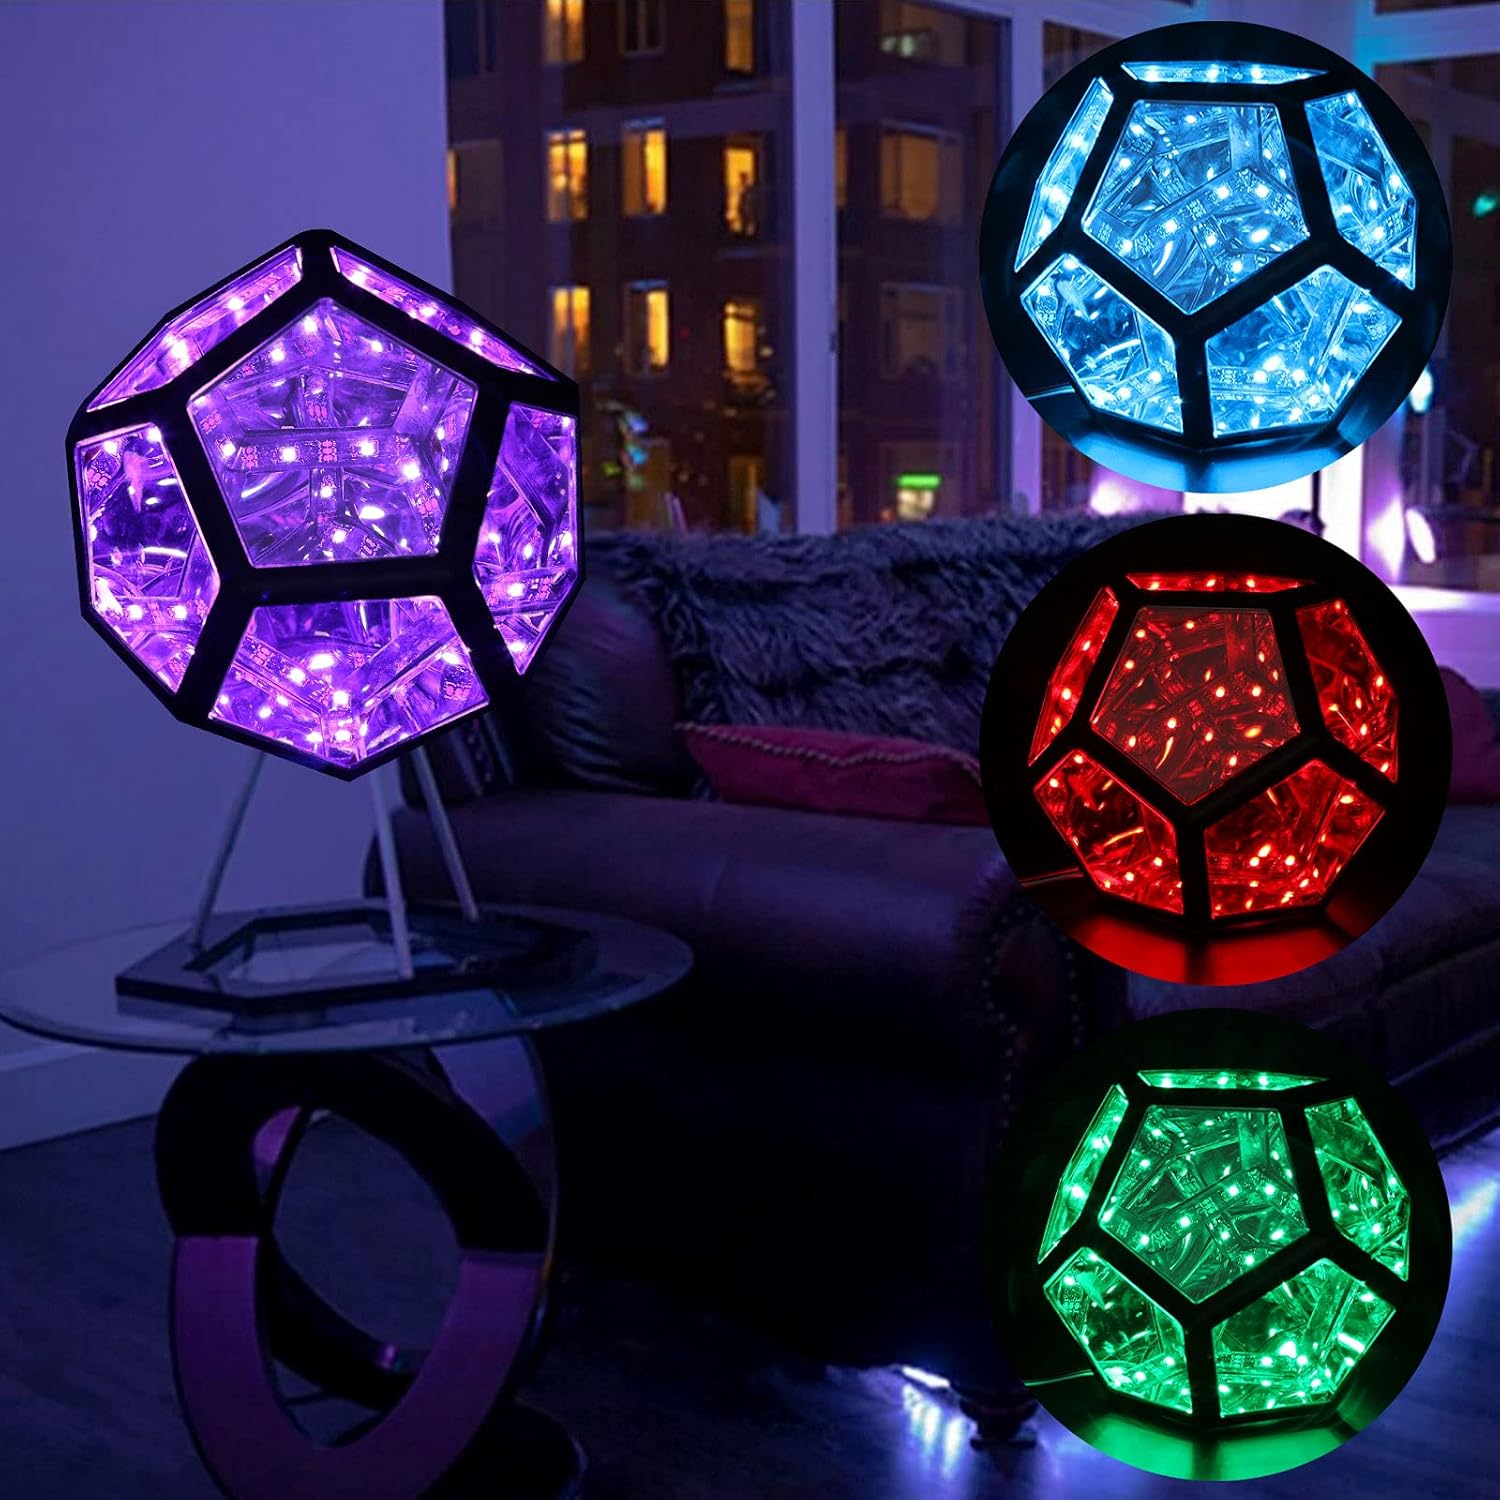
Infinity Dodecahedron, Creative and Cool Infinite Dodecahedron Color Art Light Night Light, Spiral Space LED Light Adjustable Color Light, Furniture Decoration Table lamp Soft Dimmable Lighting (A)
FREE Shipping
Infinity Dodecahedron, Creative and Cool Infinite Dodecahedron Color Art Light Night Light, Spiral Space LED Light Adjustable Color Light, Furniture Decoration Table lamp Soft Dimmable Lighting (A)
- Brand: Unbranded

Description
That being said, you don't really need the wire; you could just glue the feet directly on to to the mount_base. Likewise, if they are tight enough, they probably won't move anyway. I have been keeping an eye on infinity mirror type objects for years now. Infinity mirrors are great to see, but I never felt the urge to build one. That was until I saw the video below, where Adam Savage and Matt Parker build an infinity rhombic dodecahedron. I love the shape, and how it nests unlike the conventional dodecahedron. I wanted to build one.
I made some animation for the dodecahedron, though I was running a bit short on time. The sketch for the Teensy is included in the files. In the provided program the dodecahedron will run through all animations over time. For all the connections use thin flexible wire. I used the wire from a flat cable. All wires should stay a few millimeters away from the stems in each corner. Here the cover connects and wires can get in the way. The first strip with the input can have the connector provided with the led strip or some heavier gauge wire. This part will connect to the microcontroller. Fold the outer pentagons of each halve upwards until the sides touch, forming two half dodecahedrons. Please look over the drawing. It includes a list of components to be printed, including quantities and any specific printing instructions. Unless noted, only print a single copy of each piece. Later in the instructable, I will refer to the parts by name as listed in the drawing (although hopefully you'll be able to identify them using the images attached to each step). You can find all the parts at my Github: here.Please note that the controller PCB is a general purpose PCB that I've designed for breaking out the Wemos pins and driving LEDs. This instructable does not use all the connections/components, this is intended. When the part is dried, the coarse scratches from the first sanding step should not be visible. Keep sanding until only a fine haze of scratches from the 600 grit is visible. Unfortunately you'll have to re-write most of the segment section defs. For the line segments it's not too bad. You're correct that you need to change the lengths to 10 or -10, but you also need to change the start pixel of each line so, for example: DeepLight® 12 units are art pieces intended for display in a single location. They are not intended to be used as mobile installations or at high-stress / high-risk environments such as music festivals. Frequent assembly and disassembly will cause wear.
While it's certainly not impossible to turn a DeepLight® 12 unit into a mobile installation, just as we would advise against taking a painting or flatscreen television to a music festival, we strongly discourage such usage with any DeepLight® 12 unit. We'll begin by attaching strips and wires to the base PCB. This is the bottom corner of the dodecahedron, and is where both power and data inputs are connected to the strips. This is more easily done off of the dodecahedron because you'll need access to both sides of the PCB. However, this isn't very useful when using two normal mirrors, as it's hard to see between them. Instead, infinity mirrors are generally assembled using one mirror and one clear plate covered with a one-way-mirror film. The mirror film acts like a half-way point between being a full mirror and being transparent; reflecting some light, but also letting some escape. The light that escapes can be observed by us, forming the infinity effect. The reflected image fades after each subsequent reflection as more light escapes. This is why all infinity mirrors seem to produce a "tunnel" into the mirror. Apparently, denatured alcohol can remove epoxy without damaging acrylic. I still recommend trying to avoid getting any on the faces though.I could let you choose this arrangement yourself, but then you'd need to change my code to match, and it's possible that the corner PCBs would have mismatched connections. Instead, I've made a guide so that you can lay out the LEDs exactly as I did. This is also essential if you want to change my code, because the guide is the easiest way to figure out what LED is where. To aid in getting the angles right, I have provided templates. The corners can be places in the template, and the struts can then be clamped to the template, holding all pieces in the right orientation. When the glue has set the template can simply be removed. The frame was practically impossible to assemble. The glue took forever to set and the frame fell apart several times before the glue set. I either need more patience, faster setting glue (CA with activator should work) and/or change the design so that the dodecahedron frame can keep it's shape while the glue is setting.
- Fruugo ID: 258392218-563234582
- EAN: 764486781913
-
Sold by: Fruugo