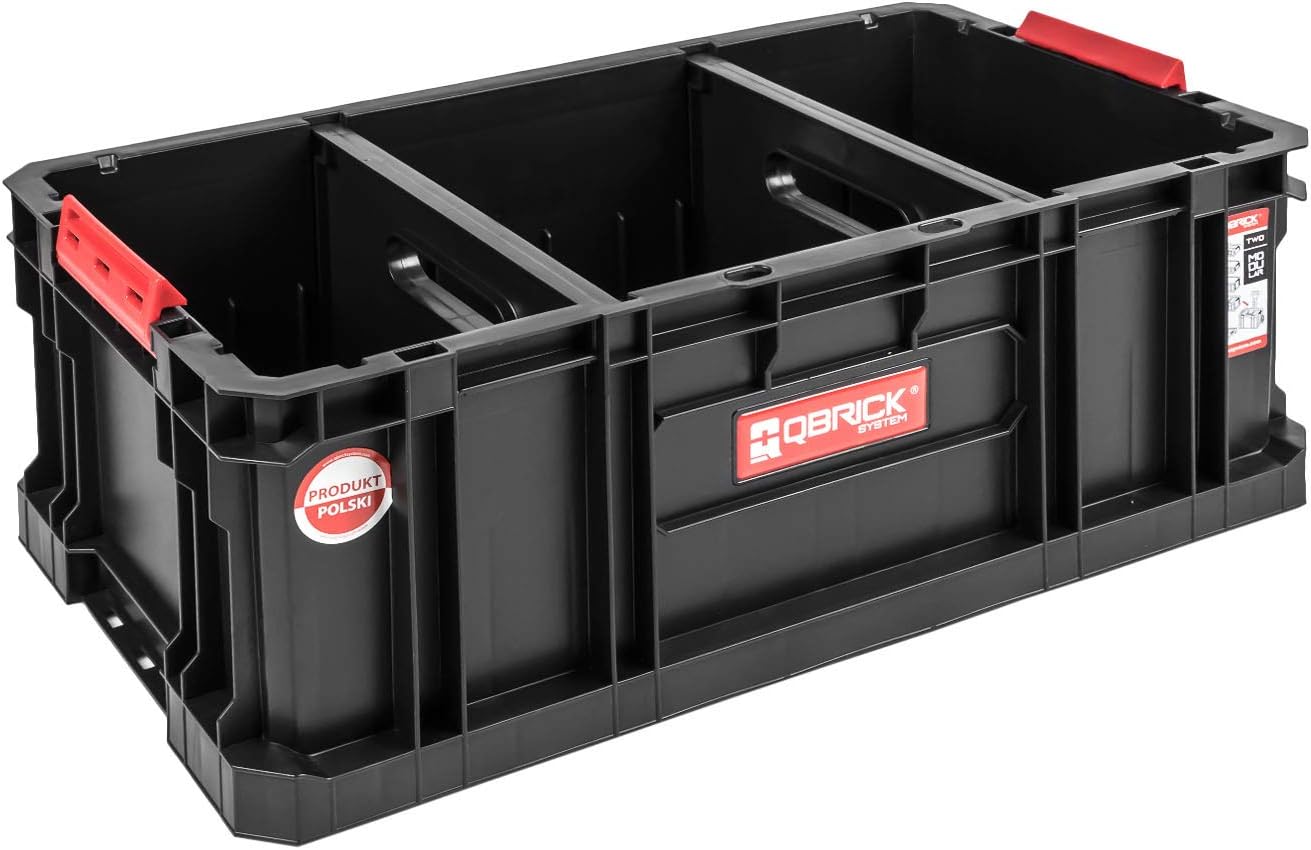
QBRICK SYSTEM TWO Box 200 Flex Tool Box Basket with Dividers
FREE Shipping
QBRICK SYSTEM TWO Box 200 Flex Tool Box Basket with Dividers
- Brand: Unbranded

Description
If we have three 100 pixel-wide items in a container which is 500 pixels wide, then the space we need to lay out our items is 300 pixels. This leaves 200 pixels of available space. If we don't change the initial values then flexbox will put that space after the last item. You can add a :after pseudo element in container with the placeholder button. It has the effect as flex: 999 999 auto which consumes all space in the last line of your content. More Stuffs An area of a document laid out using flexbox is called a flex container. To create a flex container, we set the value of the area's container's display property to flex or inline-flex. As soon as we do this the direct children of that container become flex items. As with all properties in CSS, some initial values are defined, so when creating a flex container all of the contained flex items will behave in the following way. In both cases the start edge of the cross-axis is at the top of the flex container and the end edge at the bottom, as both languages have a horizontal writing mode.
Features: Fold-down shelf creates discrete storage option that is great for small or crowded workshops. 70 lb. carrying capacity. The two 2012 specs are roughly equivilant in terms of features, differing mainly in syntax. The earlier 2009 spec is less comprehensive though covers a lot of the same ground. Using flex: auto is the same as using flex: 1 1 auto; everything is as with flex:initial but in this case the items can grow and fill the container as well as shrink if required. The shorthand you often see in tutorials is flex: 1 or flex: 2 and so on. This is as if you used flex: 1 1 0 or flex: 2 1 0 and so on, respectively. The items can grow and shrink from a flex-basis of 0.
Flexbox browser support
Today I’m sharing the details on my new FLEX tool boxes, plus more exciting equipment. FLEX Tool Boxes & More Using flex: none will create fully inflexible flex items. It is as if you wrote flex: 0 0 auto. The items cannot grow or shrink but will be laid out using flexbox with a flex-basis of auto.
The justify-content property is used to align the items on the main axis, the direction in which flex-direction has set the flow. The initial value is flex-start which will line the items up at the start edge of the container, but you could also set the value to flex-end to line them up at the end, or center to line them up in the center.
Comments
If you set box-flex to 0, Firefox forces the element to act like it’s using the quirks-mode box model. Another vital area of understanding is how flexbox makes no assumption about the writing mode of the document. In the past, CSS was heavily weighted towards horizontal and left-to-right writing modes. Modern layout methods encompass the range of writing modes and so we no longer assume that a line of text will start at the top left of a document and run towards the right-hand side, with new lines appearing one under the other. To have more control over flex items we can target them directly. We do this by way of three properties: If the flex-direction is row and I am working in English, then the start edge of the main axis will be on the left, the end edge on the right. The result of this is that your items will all line up in a row, using the size of the content as their size in the main axis. If there are more items than can fit in the container, they will not wrap but will instead overflow. If some items are taller than others, all items will stretch along the full length of the cross-axis.
To cause wrapping behavior add the property flex-wrap with a value of wrap. Now, should your items be too large to all display in one line, they will wrap onto another line. The live sample below contains items that have been given a width, the total width of the items being too wide for the flex container. As flex-wrap is set to wrap, the items wrap. Set it to nowrap, which is also the initial value, and they will instead shrink to fit the container because they are using initial flexbox values that allows items to shrink. Using nowrap would cause an overflow if the items were not able to shrink, or could not shrink small enough to fit.
Known issues
Flexbox ignores overflow: hidden and expands the flexbox child when the content is larger than the child’s width. tl;dr - We don't provide testing for attributes that works over single item basis. What is the :after placeholder? You can also use the value space-between to take all the spare space after the items have been laid out, and share it out evenly between the items so there will be an equal amount of space between each item. To cause an equal amount of space on the right and left of each item use the value space-around. With space-around, items have a half-size space on either end. Or, to cause items to have equal space around them use the value space-evenly. With space-evenly, items have a full-size space on either end. Setting flex: initial resets the item to the initial values of flexbox. This is the same as flex: 0 1 auto. In this case the value of flex-grow is 0, so items will not grow larger than their flex-basis size. The value of flex-shrink is 1, so items can shrink if they need to rather than overflowing. The value of flex-basis is auto. Items will either use any size set on the item in the main dimension, or they will get their size from the content size.
- Fruugo ID: 258392218-563234582
- EAN: 764486781913
-
Sold by: Fruugo