About this deal
Sandwich the short 2×4 between the longer ones. Screw them together. The short piece will sit in the exact center of one wall, right on top of the top plate. You can affix it with a couple of wood screws – it isn’t permanent, so it just needs to be able to hold the ridge board.
Both trusses and rafters can be used to create the roof of a building. While they function similarly, they have unique differences that affect how they attach to the supporting walls. Do not install the ridge board to rafter connectors on the ends of the ridge beam yet – you will do this at the end. Make a Ridge Beam BraceAs you can see, the size of wood depends on the span of your shed. Now, your rafter is going to a little longer than half the span of your shed since it is at an angle. The pitch and span of your roof will dictate how long of a rafter you’ll need – use maximum span calculator to help you find your rafter size.
How many nails you should use depends on the size of the top plate. For a 2×4 top plate, use three toenails, alternating sides. For a 2×6 top plate, use five toenails, again alternating sides with each nail. There are many good options to consider when determining how to attach your roof to the walls of the structure you’re building. Toenailing is one of the more straightforward methods of attaching rafters or trusses to the top plate, while hurricane ties offer superior strength to ensure your roof stays where it belongs.
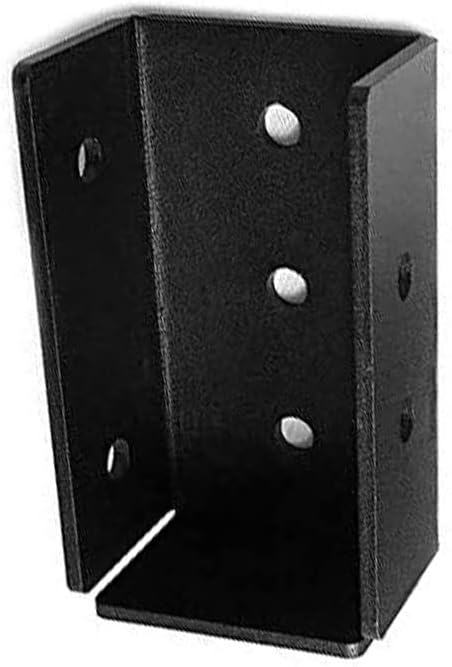
Installation Guidance for Infinity Galvanised Steel, Copper, and Zinc Guttering Top-Fix Rafter Brackets – for properties with no fascia board.
Also known as a “king common”, the king rafter is the center rafter between two hip rafters. It extends from the edge of the ridge beam down to the center of the wall, making it perpendicular to the common rafters. A king rafter has hip rafters jutting from either side of where they meet the ridge beam. Lastly, you’ll want to mark out the ridge beam in the same spots you’ve marked your top plate. I take the ridge beam and lay it on the top plate of one side of the wall, then mark the edge of the ridge beam just where I’ve marked the top plate. Make sure the top plate and ridge beam are aligned exactly. For additional support, you can use ceiling joists, which are lengths of lumber that run from the end of one rafter to another. 1. Toenailing
After all, it’s the job of the walls to hold the roof up. This prevents the rafter from potentially shifting, causing your roof to sag, or worse, collapse inward. I use a jigsaw to make this cut, although a handsaw or circular saw works, too. If using a circular saw, you can make your cuts, flip the wood over, cut out from the other side, then use a finishing handsaw to remove the rest. Or you can just use a handsaw and cut slowly. Toenailing is typically used when it’s impossible to nail through the top plate into the rafter. Well, TimberLOK has another option. You may not be able to nail through the top plate into the rafter. But you can drive a screw through it. TimberLOK 6-inch long screws secure your rafter to the top plate by driving a screw at an angle from the joint between the wall stud and top plate, through the top plate and into the rafter. Is this strong enough? Rest assured it is. TimberLOK’s screws meet the IRC 2012 national code requirements for rafter or truss to top plate connections. Get some scrap 2×4 pieces. Cut four of them into lengths of a couple of feet or so. Screw each piece so that there is one above and below each rafter. Do it carefully so that rafters are not out of place. You can now remove your rafters and insert another pair – you’ve created a jig to cut your birdsmouth joints. Attaching the rest of the rafters requires you to merely line up your rafters in the connectors you’ve already installed. If you measured correctly, this is the easy part. I would suggest you install the rafters in pairs. If you do just one side, all the way down, then the ridge board can come loose or be distorted from all the hammering in the same direction. Attach End RaftersFor similar reasons, you should also consider using collar ties if you plan on using rafters. A collar tie is a length of lumber that attaches to each opposing rafter near the peak, preventing your rafters from spreading apart. Collar ties also take the stress off of your wall plate and rafter joint. With rafters in your jig, use a pencil to outline the cut in either rafter. Since both rafters are hanging off the edges of your shed, you’ll just outline the corners of the shed onto the 2x4s. You’ll be outlining underneath each rafter, but you’ll use the edge of the shed floor as a guide, so you don’t have to see what you are doing because the edges of the floor are your guide. Because the bottom of the truss is held together with a bottom cord, no birdsmouth cut is required for attaching the truss to the top plate. The bottom cord should rest squarely onto the top plate, making attaching the truss a comparatively simple process. Before we get started, it’s important to consider why attaching your roof, be it a truss-style or rafter-style roof, to your structure is such a critical step in the construction process. It’s important to understand that not all the methods we will discuss in this article are equal.
 Great Deal